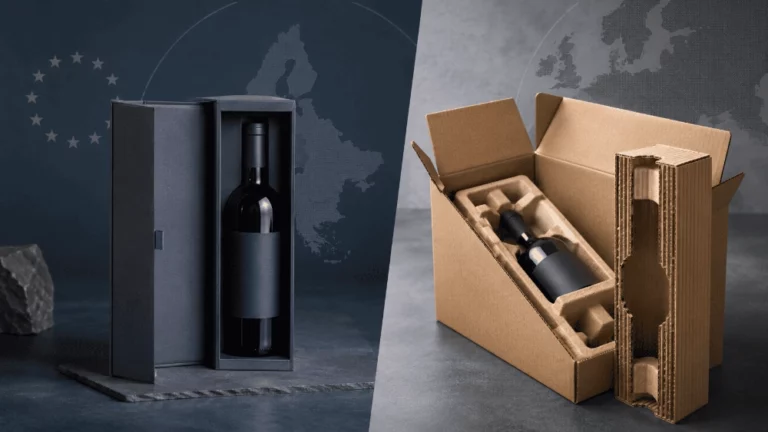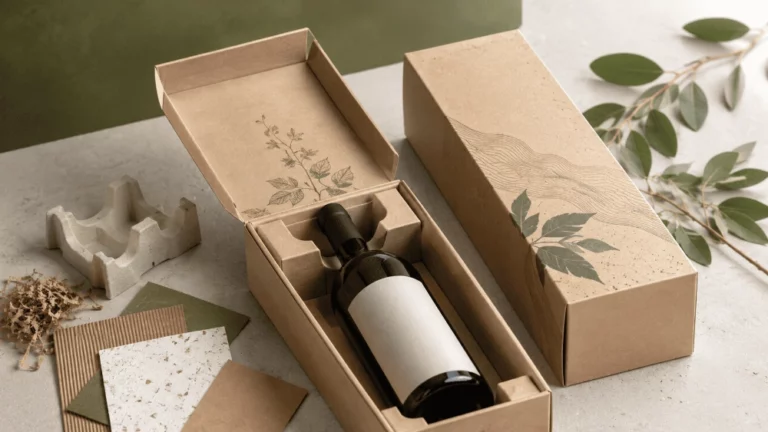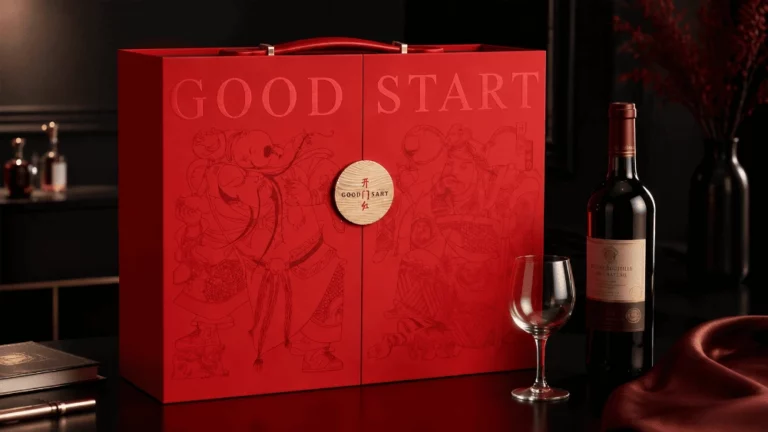

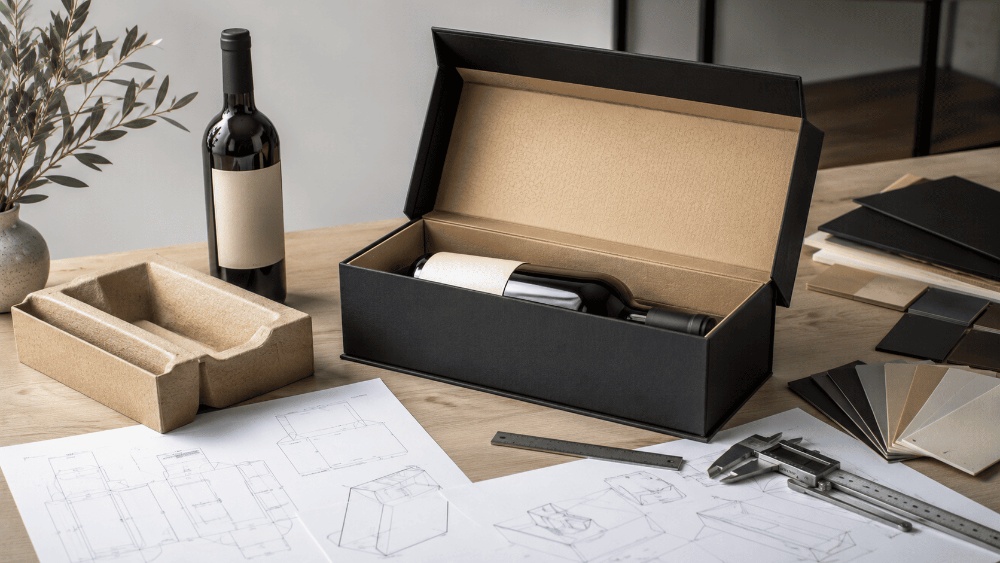
Una muestra útil comienza antes de cortar la primera tabla. Las muestras de cajas de vino personalizadas solo permiten responder a las preguntas de producción adecuadas cuando se preparan con antelación los datos de la botella, la estructura, los insertos, el diseño, los acabados y las normas de aprobación. Enviar únicamente un logotipo, la capacidad de la botella o una imagen de referencia deja demasiadas decisiones sin tomar.
Un prototipo de caja de vino debe confirmar algo más que su apariencia. Debe demostrar si la caja se ajusta al producto, se abre correctamente, presenta la marca como se pretende y puede convertirse en una referencia de producción fiable. Un proceso de muestreo de cajas de vino riguroso comienza con datos completos, en lugar de correcciones repetidas.
1. Defina el propósito y el tipo de muestra.
Los distintos tipos de muestras responden a distintas preguntas. El informe sobre las muestras para cajas de vino personalizadas debe indicar qué debe confirmar cada muestra.
Muestra de referencia estructural
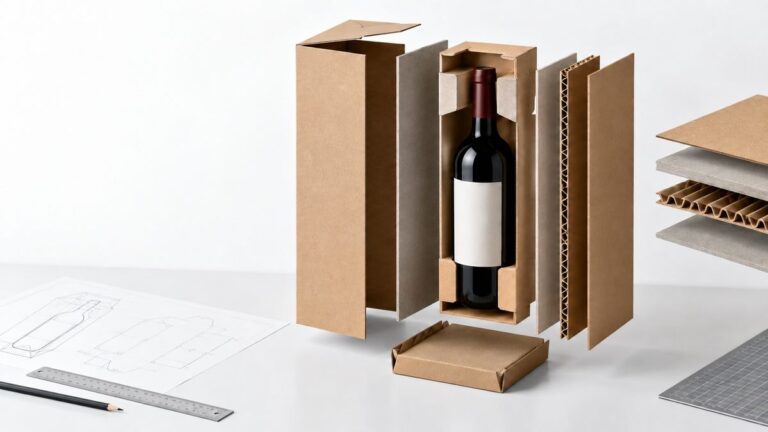
Una muestra estructural en bruto comprueba las dimensiones, el ajuste de la botella, la posición del inserto, el plegado, el montaje y el movimiento de las tapas, los cajones o las puertas.
Una muestra en blanco no permite validar los colores finales, los materiales de la superficie ni los acabados decorativos.
Muestra impresa con la representación del acabado requerido.
Una muestra impresa de preproducción permite revisar la escala del diseño, la ubicación del color, el tipo de papel y la relación entre el exterior y el interior. Para proyectos que incluyan estampado en caliente, relieve, barniz UV selectivo, cintas, imanes o piezas metálicas, es necesario identificar qué acabados finales deben representarse físicamente.
Escriba el tipo de muestra y el alcance de la revisión en la parte superior del informe para evitar la aprobación de características que queden fuera de su alcance.
2. Preparar la botella final y el conjunto completo del producto.
Las muestras de cajas de vino personalizadas deben diseñarse a partir del producto comercial, no de una botella genérica de la misma capacidad. Las diferencias en el hombro, el cuello, la base, el cierre o la etiqueta pueden afectar el ajuste.
Utilice la botella comercial terminada
Siempre que sea posible, proporcione la botella final, incluyendo el tapón, la etiqueta, la decoración del cuello y el peso de llenado. Un dibujo técnico puede servir de apoyo en las primeras etapas, pero una botella física permite comprobar mejor los puntos de contacto, el espacio libre para la etiqueta, el equilibrio y la facilidad de extracción.
Si varias versiones de botella comparten una misma caja, registre el perfil de cada botella y establezca un rango dimensional validado. Pruebe la muestra con cada botella de producción, en lugar de utilizar únicamente el tamaño nominal promedio o el mayor.
Incluya todos los accesorios o un sustituto verificado.
Un estuche de regalo puede incluir un vaso, un sacacorchos, una tarjeta, un folleto o chocolate. Siempre que sea posible, proporcione cada componente físicamente. Si un artículo no está disponible, utilice las dimensiones, el peso, los dibujos y una maqueta representativa verificados antes de modificar la disposición interna.
3. Confirme las dimensiones y la orientación de la botella.
El proceso de muestreo de la caja de vino debe separar la botella, la cavidad, el inserto, el accesorio y las dimensiones externas finales.
Separe los grupos de dimensiones principales.
Registre la altura de la botella, el diámetro máximo del cuerpo, el ancho del hombro, el diámetro del cuello, el tamaño del cierre y el peso lleno. Luego, identifique la cavidad, la abertura de inserción, el grosor del soporte y las dimensiones del compartimento de accesorios. Defina las dimensiones externas solo después de seleccionar la placa, los materiales de envoltura y la estructura de apertura.
Esto proporciona al prototipo de caja de vino una base medible y mantiene el proceso de muestreo de la caja de vino rastreable. Los compradores que necesiten un método más completo pueden consultar esta guía para Dimensiones de la caja de vino personalizada.
Indique la posición prevista de la botella.
Especifique si la botella se colocará en posición vertical, horizontal, inclinada o junto a otra botella o accesorio. La orientación influye en los puntos de apoyo, la visibilidad de la etiqueta, la presentación al abrirla y el equilibrio.
El dibujo debe mostrar la etiqueta frontal y la dirección de extracción.
4. Seleccione la estructura de la caja y el método de apertura.
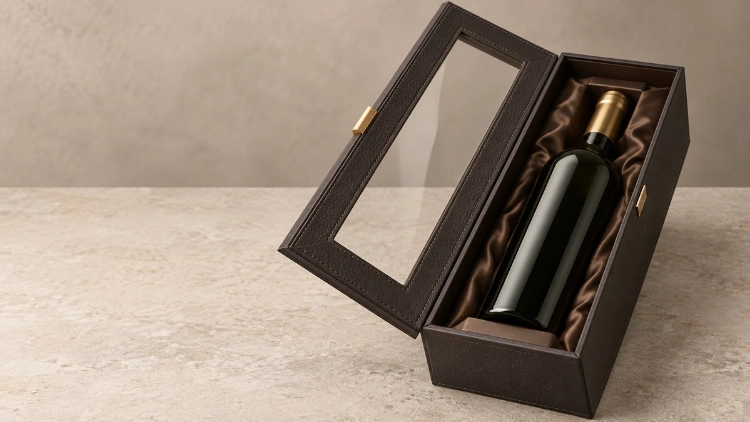
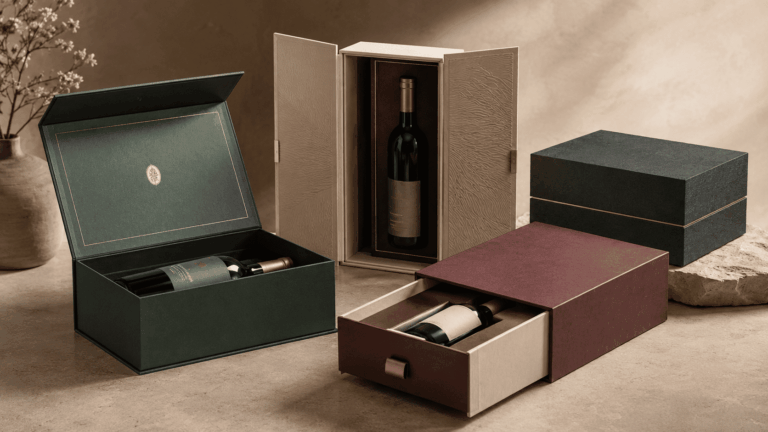
Una descripción como "caja de vino de lujo" no es una especificación de producción. El embalaje personalizado para vino puede incluir tapa y base, cierre magnético, cajón, plegable, doble puerta, ventana o asas.
Confirmar la estructura primaria
Identifique la estructura, la dirección de apertura, la disposición de los paneles y si la caja se entregará desmontada o ensamblada. Indique si el inserto es fijo o se suministra por separado.
Modificar la estructura posteriormente puede requerir un nuevo troquel, inserto, diseño gráfico y método de embalaje.
Registra la secuencia de apertura y montaje.
Muestra qué lado se abre, cómo se tira de un cajón, cómo se unen las puertas dobles, dónde se colocan los imanes y cuándo se instala el inserto. Las estructuras plegables deben incluir una secuencia de montaje clara.
El proceso de muestreo de las cajas de vino debe seguir el mismo método previsto para la producción. El montaje por parte de personal experimentado de la sala de muestras podría no revelar todos los problemas que podrían surgir durante el empaquetado habitual. Solicite al equipo de empaquetado habitual que ensamble y cargue varias unidades de prueba antes de su aprobación.
5. Defina la disposición de los insertos y accesorios.
El inserto controla la posición, la extracción y la protección de la botella, por lo que no debe añadirse una vez que se hayan fijado las dimensiones de la caja.
Seleccione el material de inserción
Las opciones pueden incluir EVA, espuma flocada, pulpa moldeada, separadores de cartón, moldes de papel y bandejas recubiertas de terciopelo. Cada material tiene diferente grosor de pared, comportamiento a compresión, fricción y efecto visual.
La elección debe ajustarse al peso de la botella y a los objetivos de presentación. Una cavidad que funciona en espuma no debe transferirse automáticamente a pulpa moldeada o cartón. Otras consideraciones de ajuste aparecen en el Guía de insertos personalizados para cajas de vino.
Marque todos los soportes y compartimentos.
Identifique la base de apoyo, el soporte corporal, la sujeción para hombros o cuello, el acceso para los dedos, los compartimentos para accesorios, las posiciones de las tarjetas y la separación de los biberones. Muestre también cómo se instala o se retira el inserto.
Estos detalles permiten que la muestra de preproducción confirme la carga, la extracción y la correcta eliminación de la etiqueta.
6. Finalizar los archivos de diseño, color y acabado.
Una vez que la disposición física esté estable, prepare los archivos visuales finales. Las imágenes de baja resolución y los comentarios finales vagos no son suficientes.
Preparar el material gráfico listo para producción.
Proporcione logotipos vectoriales, texto final, fuentes (ya sean convertidas a contornos o proporcionadas por el usuario), archivos de imagen adecuados, sangrado, áreas seguras, códigos de barras e información del producto requerida. Cada archivo debe incluir un número de versión claro.
Si la estructura cambia, se deben revisar nuevamente el texto, los gráficos y las posiciones de acabado antes de realizar la muestra de preproducción.
Proporcione referencias claras de color y acabado.
Utilice referencias Pantone, muestras físicas aprobadas o valores de color de proceso definidos, según corresponda. El tipo de papel, la laminación y el método de impresión pueden afectar el resultado.
Marque por separado el estampado en lámina, el relieve, el bajo relieve, el barniz UV selectivo, el papel texturizado, las cintas, los imanes y los herrajes. Un archivo completo de empaque personalizado para vino permite verificar cada efecto en la posición correcta.
7. Indique el uso previsto y las condiciones de embalaje.
Las muestras de embalaje personalizado para vino deben reflejar cómo se llenará, manipulará, exhibirá y entregará la caja.
Defina el escenario de ventas y uso.
Indique si la caja está destinada a exhibición en tiendas, regalos corporativos, promociones navideñas, eventos, ventas directas de la marca, reposición de productos para comercio electrónico o si se trata de una edición limitada. Esto influye en la orientación de la exhibición, la secuencia de apertura, las necesidades de transporte y la durabilidad de la superficie.
El escenario también determina si el prototipo de caja de vino necesita asas, ventanas, accesorios o elementos reutilizables.
Definir las condiciones de manipulación y entrega.
Aclare si la caja llegará desmontada o montada, quién se encargará del montaje, si se requiere protección individual y cómo se empaquetará la unidad terminada en las cajas maestras.
Las condiciones de prueba deben ajustarse a la estructura real, el peso de la botella y la ruta de manipulación. Las alturas de caída o los valores de carga fijos no deben considerarse requisitos universales.
8. Prepare un registro de aprobación y revisión.
El proceso de muestreo de las cajas de vino necesita un registro controlado que convierta la muestra en una referencia de producción.
Crear una hoja de especificaciones de muestra
Incluya el nombre del proyecto, la versión de la botella, la estructura, las dimensiones, el cartón, el papel de la superficie, el inserto, la versión del diseño, la referencia de color, el acabado, los herrajes, el método de embalaje y las comprobaciones necesarias.
El documento debe indicar si la muestra es estructural o impresa y qué acabados representa.
Establecer responsabilidad y estado de aprobación
Defina quién puede solicitar cambios, quién aprueba el diseño, la estructura, el color y los materiales, y qué revisiones requieren una muestra física adicional. Marque los archivos antiguos como obsoletos.
| Estados | Significado | Próxima acción |
| Aprobado | Todos los artículos revisados se publican | Proceder a la planificación de la producción |
| Se requiere corrección | Los cambios definidos permanecen | Verifique las correcciones antes de su publicación. |
| Información pendiente | Falta la información requerida. | Suspenda el proyecto |
| Rechazado | Quedan pendientes importantes revisiones | Revisar y volver a muestrear |
No se debe lanzar un prototipo de caja de vino hasta que se hayan resuelto y verificado los problemas estructurales, dimensionales, de materiales y de diseño gráfico críticos.
Requisitos para la muestra de caja rígida de vino de doble puerta
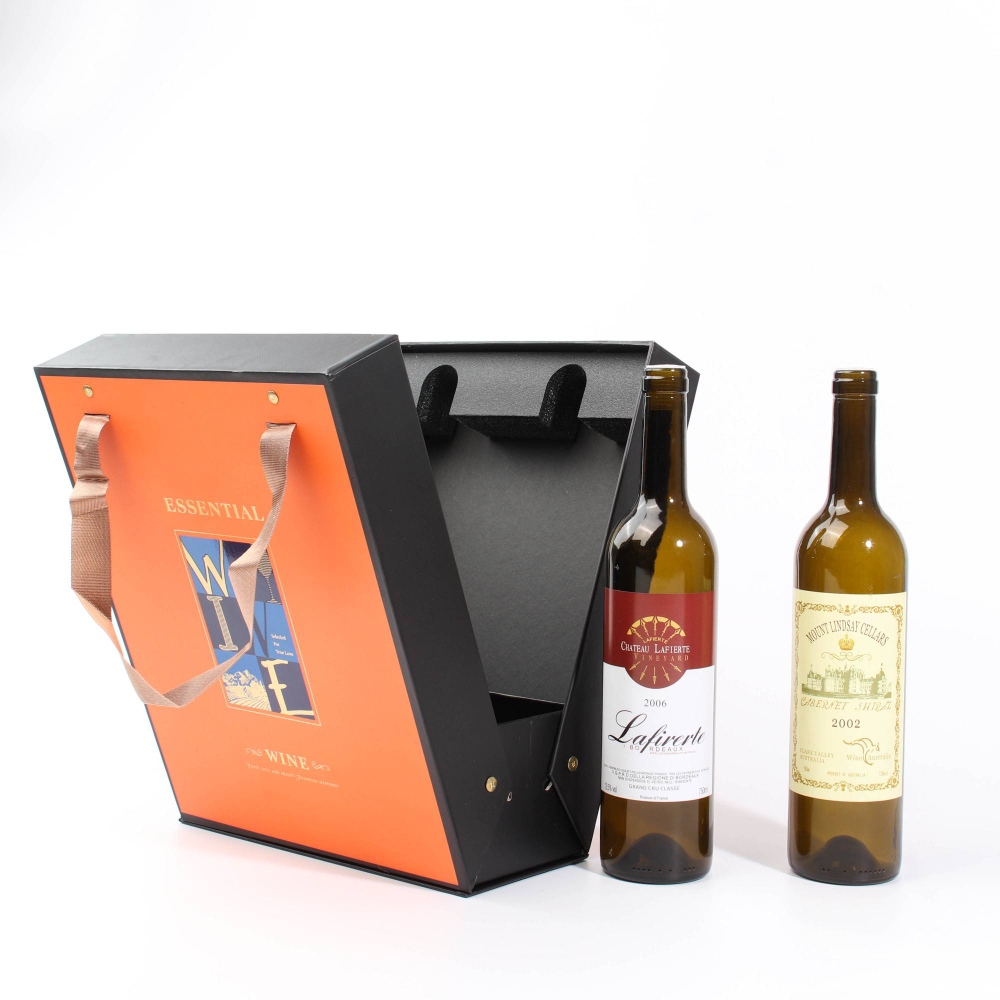
El Caja de regalo de vino rígido de lujo de doble puerta Utiliza cartón rígido y una apertura simétrica de doble puerta. Se pueden incluir cierres magnéticos opcionales, detalles de cinta, elementos metálicos, dimensiones personalizadas, impresión y acabados superficiales.
La muestra de preproducción debe confirmar la alineación de las puertas, el cierre central, la orientación de la botella, la disposición interna y la ubicación de los componentes decorativos. Asimismo, debe verificar que ambas puertas se abran y cierren correctamente sin interferir con la botella, el inserto ni los accesorios.
Desde las muestras de entrada hasta la revisión de producción
TopWinePack Ofrecemos soporte para el envasado personalizado de vinos, desde la confirmación de la estructura y la selección de materiales hasta la aprobación del diseño, el muestreo, la producción, el control de calidad y el empaquetado. Una muestra de preproducción es ideal cuando la botella, la estructura, el inserto, el diseño, el acabado y el uso previsto se definen antes de la fabricación.
Preparar una muestra confiable de caja de vino no debería comenzar con conjeturas. Comparta los detalles de su botella, la estructura preferida, el diseño y los requisitos del inserto para Comience su proyecto de muestra de cajas de vino personalizadasy el equipo puede ayudar a convertirlas en un brief de muestra claro y listo para la producción antes de que comience el desarrollo del prototipo.
Preguntas frecuentes
P: ¿Es necesario presentar una botella física para las muestras de cajas de vino personalizadas?
A: Se recomienda encarecidamente utilizar una botella física para formas complejas, inserciones precisas, botellas pesadas, etiquetas o cierres decorativos. Los planos técnicos pueden servir de apoyo en las primeras etapas, pero para el ajuste final se deben utilizar todas las botellas comerciales incluidas en el proyecto.
P: ¿Debería finalizarse el diseño antes de fabricar un prototipo de caja de vino?
A: No siempre se requiere el diseño final para una muestra estructural en blanco. Una muestra impresa debe utilizar la versión del diseño aprobada, las referencias de color y las posiciones de acabado incluidas en su alcance de revisión.
P: ¿Cada revisión de una muestra requiere una nueva muestra física?
A: Las correcciones menores de texto pueden revisarse mediante una prueba de diseño revisada cuando no afecten la línea de troquelado, el registro de impresión, la posición del estampado o el relieve, la información legal, el código de barras ni la estructura de la caja. Los cambios en las dimensiones, la estructura, los insertos, las áreas críticas para el color, los acabados principales, las asas, los imanes o la disposición de las botellas deben verificarse físicamente.