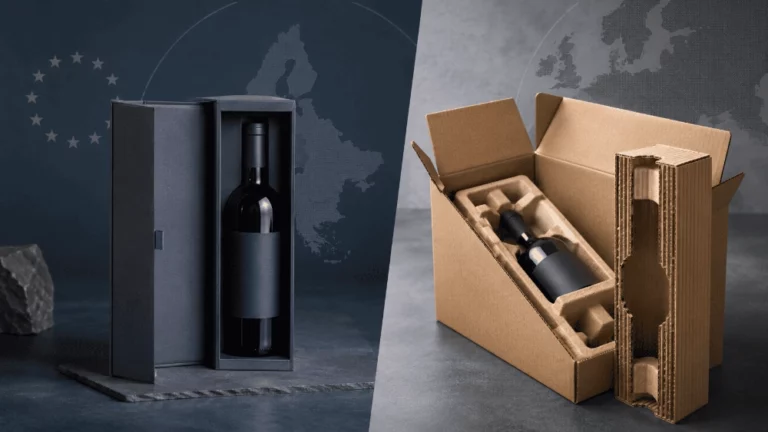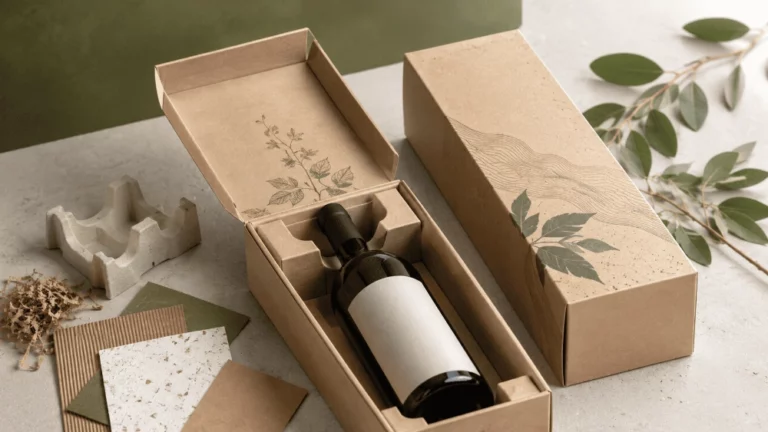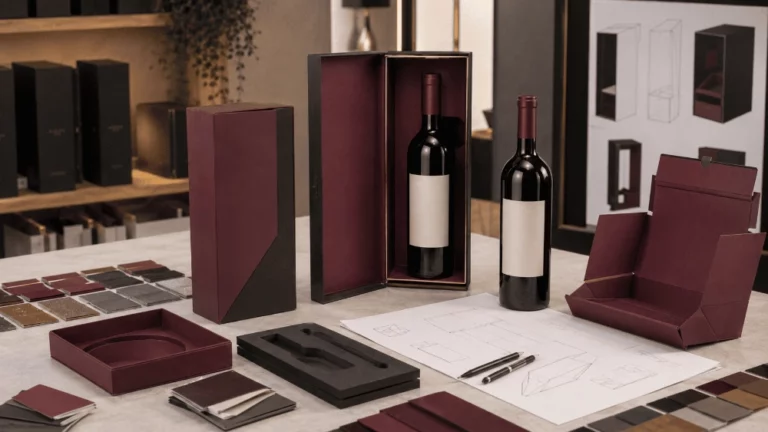

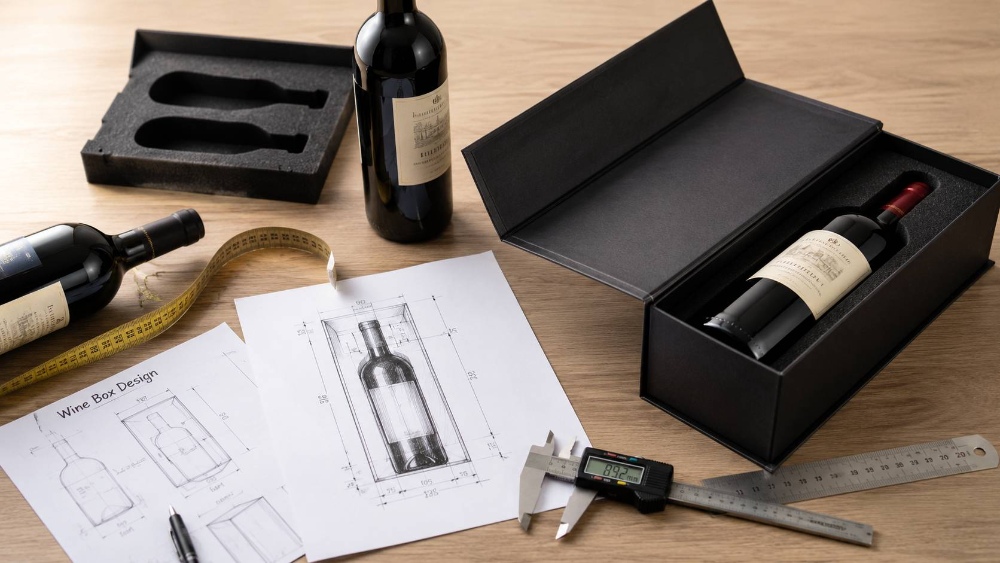
Die Dimensionierung einer maßgefertigten Verpackung sollte nicht allein anhand des Flascheninhalts erfolgen. Zwei Flaschen mit der Kennzeichnung 750 ml können unterschiedliche Höhen, Durchmesser, Schultern, Hälse, Böden, Verschlüsse und Füllgewichte aufweisen. Verlässt sich das Verpackungsteam lediglich auf das Nennvolumen, kann die Flasche zu eng sitzen, sich im Einsatz verschieben, das Schließen des Deckels verhindern oder einen Bereich der Verpackung überlasten.
Die genauen Maße für maßgefertigte Weinkisten beginnen mit der fertigen, befüllten und versiegelten Flasche. Der Käufer legt dann Ausrichtung, Einsatz, Freiraum, Kartonstärke, Struktur und Zubehör vor der Mustererstellung fest.
Warum das Flaschenvolumen nicht die endgültige Verpackungsgröße bestimmt
Das Fassungsvermögen beschreibt das Innenvolumen, nicht die äußere Form. Flaschen im Bordeaux-, Burgunder-, Sekt- und Spirituosenstil können ein ähnliches Volumen fassen, obwohl sie unterschiedliche Proportionen aufweisen. Schwere Böden, lange Hälse, Wachssiegel oder dekorative Verschlüsse können das endgültige Erscheinungsbild verändern.
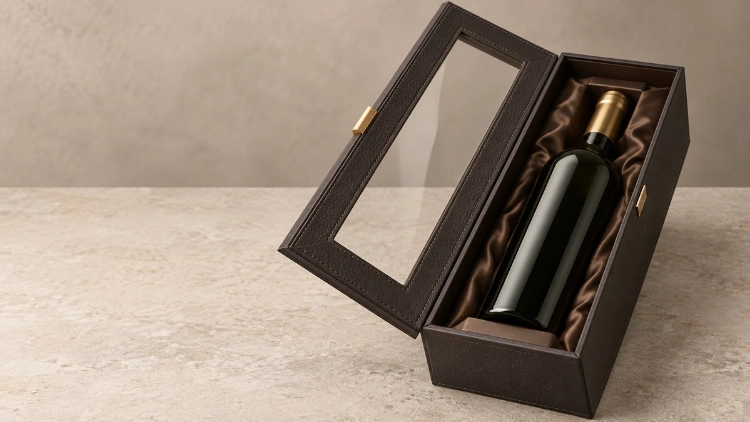
Ein Sichtfenster oder Einsatz darf wichtige Informationen auf dem Etikett nicht verdecken. Die Standardgröße eines Weinkartons sollte daher nur als grober Richtwert dienen.
Schritt 1: Messen Sie die vollständig gefüllte Flasche ab.
Erfassen Sie alle Maße der fertigen Verkaufsflasche, einschließlich Verschluss, Etikett, Dekorationselemente und Füllgewicht.
Messen Sie Höhe, Verschluss und maximalen Durchmesser
Messen Sie vom tiefsten Punkt des Bodens bis zum höchsten Punkt des Verschlusses. Berücksichtigen Sie dabei Korken, Kappen, Folien, Wachssiegel, Halsverzierungen oder sonstige Sicherheitsmerkmale, die über das Glas hinausragen. Notieren Sie den größten Durchmesser an der breitesten Stelle des Korpus, nicht nur den mittleren.
Wenn mehrere Flaschenversionen in einem Karton verwendet werden, messen Sie jede einzelne und verwenden Sie die größte kritische Abmessung anstelle eines Durchschnittswerts.
Position von Schulter, Hals und Etikett aufnehmen
Messen Sie die breiteste Stelle der Schulter, die Höhe des Schulterbeginns, den Halsdurchmesser und die nutzbare Halslänge. Diese Werte zeigen, wo ein Einsatz die Flasche halten kann, ohne auf das Etikett oder den Verschluss zu drücken.
Notieren Sie die Positionen der Vorder- und Rückseitenetiketten für alle Sichtfenster, Aussparungen oder Präsentationsöffnungen. Die vollständigen Maße der Weinflasche sollten sowohl die sichtbaren Bereiche als auch das Glasprofil umfassen.
Füllgewicht und Zubehör inklusive
Verwenden Sie das Gewicht der fertigen Flasche, nicht das des leeren Behälters. Das Gewicht der gefüllten Flasche beeinflusst den Boden, die Dichte der Einsätze, den Griff und den Verschluss. Bei Mehrflaschensystemen wirkt es sich außerdem auf die Balance und die Stabilität der Trennwände aus.
Alle Zubehörteile sollten in derselben Phase aufgelistet werden, da deren Größe, Gewicht und Position die interne Aufteilung und die endgültigen Abmessungen der maßgefertigten Weinkiste beeinflussen können.
Schritt 2: Flaschendaten in Innenabmessungen der Verpackung umrechnen
Sobald die Flaschendaten erfasst sind, definieren Sie den nutzbaren Innenraum. Die Innenmaße des Kartons entsprechen nicht den Flaschenmaßen zuzüglich eines willkürlichen Zuschlags. Sie müssen der Art der Flaschenaufbewahrung entsprechen.
Orientierungs- und Stützpunkte festlegen
Entscheiden Sie, ob die Flasche aufrecht stehen, liegen, schräg stehen oder Teil einer Anordnung mehrerer Flaschen sein soll. Die Ausrichtung bestimmt, welche Flächen die Last tragen und welche Teile fixiert werden müssen.
Eine stabile Anordnung stützt Fuß, Körper, Schulter oder Nacken in einer gezielten Kombination. Liegend stehende Flaschen benötigen eine Kippsicherung, während aufrecht stehende Flaschen einen festen Standfuß benötigen, der ein Umkippen verhindert.
Mehr Freiraum schaffen, ohne Bewegung zu erzeugen
Die Innenbreite entspricht dem maximalen Flaschendurchmesser zuzüglich der Innenwände und des seitlichen Freiraums. Die Innenhöhe setzt sich aus der Gesamthöhe der Flasche, der oberen und unteren Abstützung sowie dem Freiraum zum Verschließen zusammen. Diese Formeln bieten einen Rahmen, aber keine allgemeingültige Vorgabe.
Zu wenig Spielraum kann das Etikett einklemmen oder das Schließen des Deckels verhindern; zu viel ermöglicht Bewegungsfreiheit. Der benötigte Spielraum hängt von der Materialsteifigkeit, der Reibung, dem Füllgewicht und der Montage ab. Die Einsätze für den Weinkarton müssen ausgewählt werden, bevor die Innenmaße des Kartons festgelegt werden.
Planen Sie den Abstand zwischen mehreren Flaschen
Bei zwei oder mehr Flaschen müssen die jeweiligen maximalen Durchmesser, die Trennwand, die äußeren Stützen und der erforderliche Abstand berücksichtigt werden. Breite Schultern können sich überlappen, selbst wenn die Flaschenkörper scheinbar zusammenpassen.
Die Trennwand sollte verhindern, dass Flaschen aneinanderstoßen, und die Konstruktion stützen. Die Zubehörfächer sollten vor der Berechnung der Gesamtbreite eingeplant werden.
Schritt 3: Layout für Weinkisteneinsätze anpassen
Einsätze für Weinkisten sind Teil des Dimensionssystems. Ihre Dicke, Dichte, Wandform und Beschichtung können den Hohlraum verändern.
EVA- und Flockschaum
EVA passt sich der Flaschenform an und sorgt für sicheren Halt, wenn Dichte und Dicke dem Füllgewicht entsprechen. Die Öffnung sollte die Flasche ohne übermäßigen Druck halten. Beflockung oder Stoffbezug erhöhen die Dicke und verändern die Reibung.
Eine schwere Flasche kann weichen Schaumstoff mit der Zeit zusammendrücken. Überprüfen Sie die Probe nach einer gewissen Zeit und stellen Sie sicher, dass die Schnittkanten sauber sind und ausreichend Stabilität unter dem Boden vorhanden ist.
Formfaser und Karton
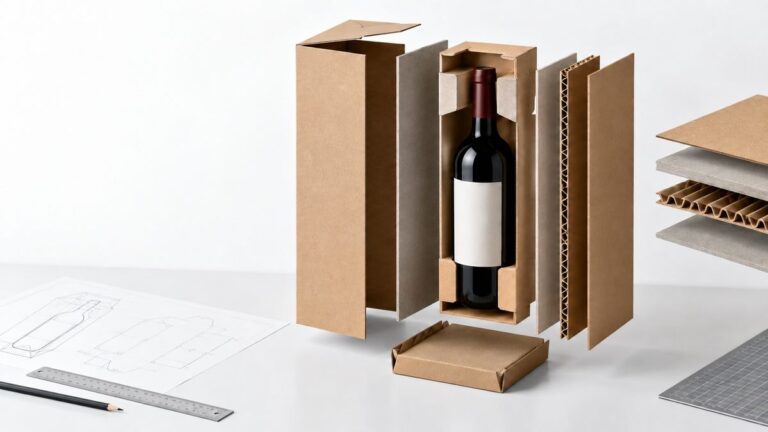
Formgepresster Zellstoff verwendet vorgeformte Wände, Entformungswinkel und Kanten, die die Größe der Kavität beeinflussen. Eine Trennwand aus Karton eignet sich zwar für gängige Flaschenformen, benötigt aber dennoch präzise Schlitze, Faltungen und Verriegelungspunkte.
Karton und Formfaserplatten dürfen nicht die gleichen Toleranzen wie Schaumstoff aufweisen. Das Konstruktionskonzept muss festgelegt werden, bevor die Maße der maßgefertigten Weinkisten freigegeben werden.
Zubehörfächer
Bei einem Kombinationsset sollte jedem Teil ein fester Platz zugewiesen werden. Zubehörteile dürfen die Flasche nicht berühren, das Etikett nicht zerkratzen und beim Öffnen des Deckels nicht herausfallen.
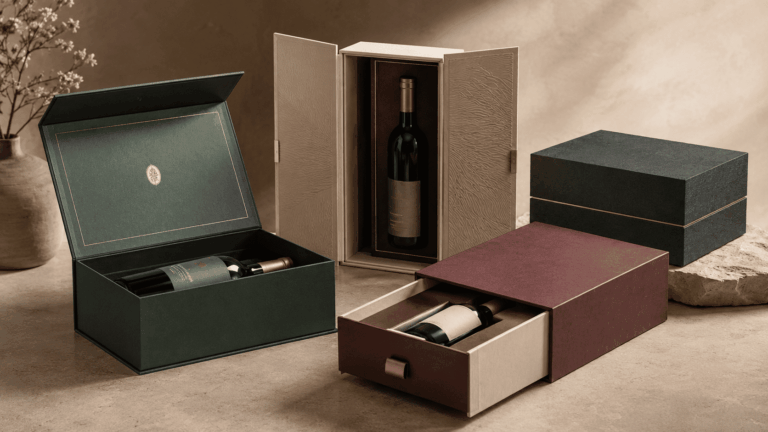
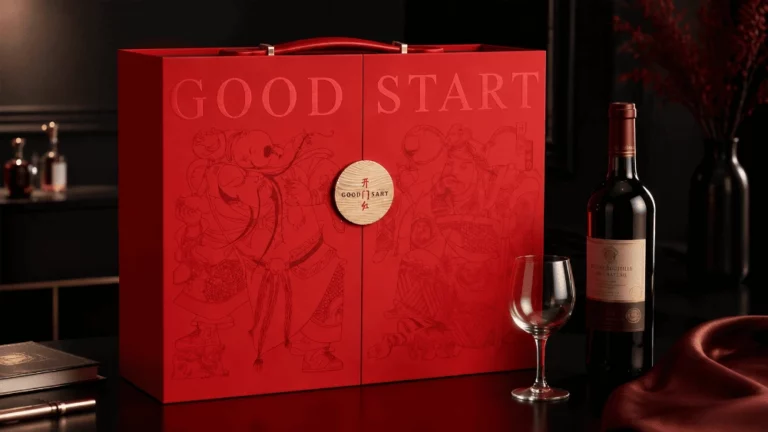
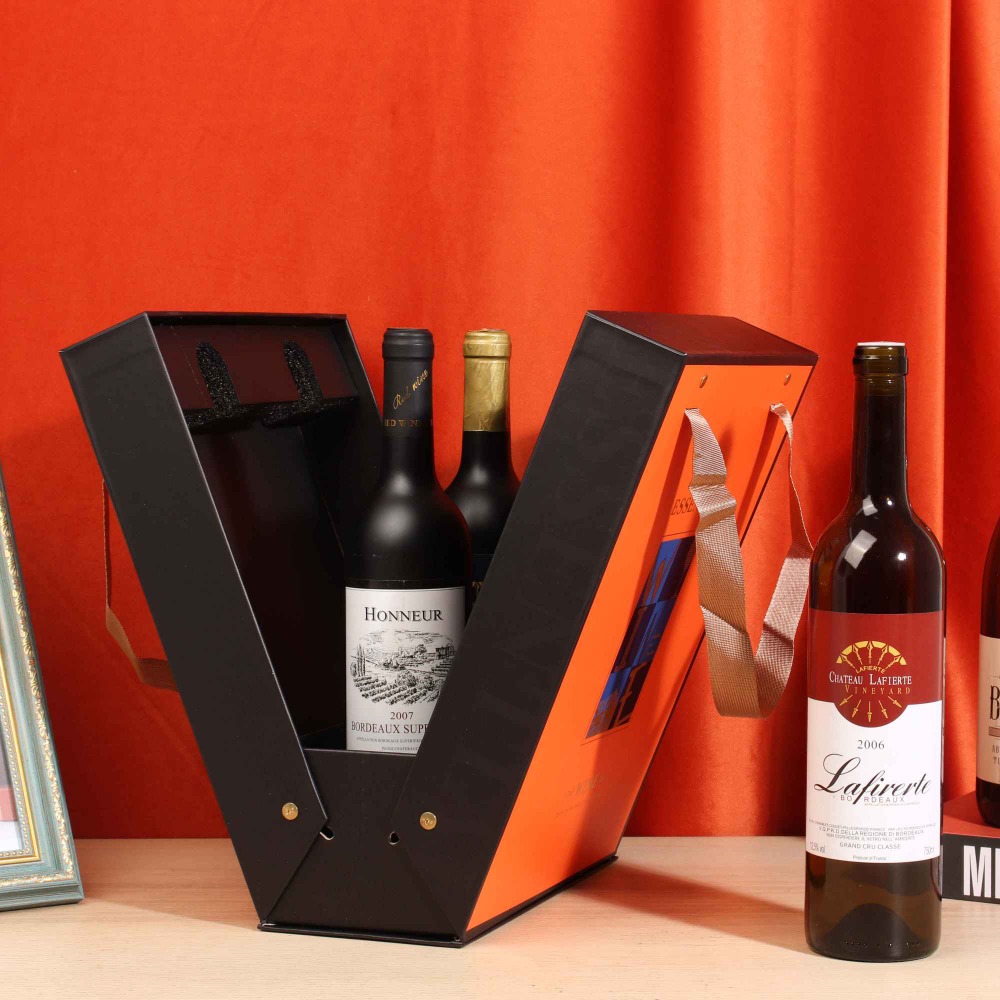
Die Luxus Doppeltür Rigid Wein Geschenkbox Die Abbildung zeigt, wie die Präsentation über ein einzelnes Flaschenfach hinaus erweitert werden kann. Das Format verwendet eine symmetrische Doppeltüröffnung und stabilen Karton, optional mit Magnetverschluss, Bändern, Metallelementen und individueller Inneneinteilung. Diese Merkmale gehören in die Zeichnung (1. Maß).
Schritt 4: Umrechnung der Innenabmessungen des Kartons in Außenabmessungen
Nachdem die interne Anordnung festgelegt ist, fügen Sie die physische Struktur hinzu, die den Hohlraum umgibt.
Dicke der Platte und des umwickelten Materials hinzufügen
Die Dicke wird durch starre Platten, Oberflächenpapier, Auskleidung, Klebstoff und Verstärkung je nach Plattenüberlappung und Kantenumwicklung erhöht.
Die Außenmaße der Weinkiste ergeben sich aus der montierten Konstruktion, einschließlich Deckel, Boden, Hülle und Verschlussplatten. Die Dokumente müssen die Innenmaße klar von den fertigen Außenmaßen unterscheiden.
Berücksichtigung der Eröffnungsstruktur
Eine Box mit Deckel und Boden benötigt eine kontrollierte Überlappung, eine Schublade einen gewissen Abstand zwischen Einsatz und Hülle, und bei einer Magnetbox müssen Rücken, Klappe, Wände und Magnete berücksichtigt werden. Faltbare, stabile Boxen benötigen außerdem Falzflächen und präzise Ecken.
TopWinePack's kundenspezifischer Weinverpackungsservice Es gibt verschiedene Ausführungen: magnetische Kisten, Kisten mit Deckel und Boden, Schubladenkisten, Faltkisten, Kisten mit Doppeltür, Kisten mit Sichtfenster und Kisten mit Griffen. Jede Ausführung verändert das Verhältnis von Innen- zu Außenmaßen. Wählen Sie die Ausführung, bevor Sie die endgültige Größe der Weinkiste bestätigen.
Griffe und Beschläge prüfen
Griffe und Beschläge können über die Platte hinausragen oder an ihren Befestigungspunkten in den Hohlraum hineinragen. Magnete und Bänder können ebenfalls die Schließstärke verändern.
Messen Sie den fertigen Karton an seiner längsten, breitesten und höchsten Stelle, bevor Sie die Umkartons berechnen. UPS-PaketabmessungenDie längsten Punkte definieren Länge, Breite und Höhe – eine nützliche Disziplin für vollständige externe Daten.
Schritt 5: Überprüfen Sie die Abmessungen anhand eines physischen Musters
Eine Zeichnung veranschaulicht die berechnete Passung. Ein Muster zeigt, wie Flasche, Einsatz, Karton, Verschluss und Handhabungselemente zusammenwirken.
Flaschensitz und -bewegung prüfen
Setzen Sie die fertige Flasche vorsichtig in die Probebox. Sie sollte waagerecht stehen, ohne Druck auf Etikett, Verschluss oder Dekoration auszuüben. Bewegen und kippen Sie die Box leicht, um zu prüfen, ob die Flasche verrutscht, rollt oder sich anhebt.
Nehmen Sie die Flasche heraus und prüfen Sie sie auf Abrieb. Bei Systemen mit mehreren Flaschen vergewissern Sie sich, dass die Trennwand gerade bleibt und die Flaschen sich nicht berühren. Diese Kontrollen zeigen, ob die Weinflaschenmaße korrekt übertragen wurden.
Überprüfen Sie Verschluss, Boden und Tragekomfort
Schließen Sie die Box mit dem gesamten Inhalt. Der Deckel darf sich nicht ausbeulen, bewegliche Teile müssen einwandfrei funktionieren und der Boden muss unter dem Gewicht der Füllung flach bleiben.
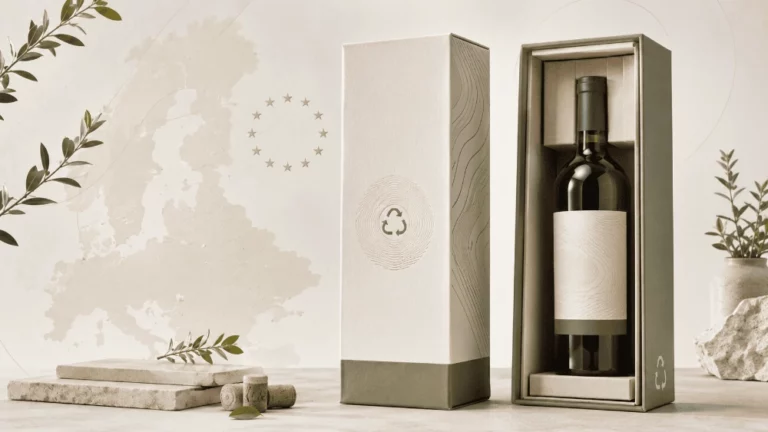
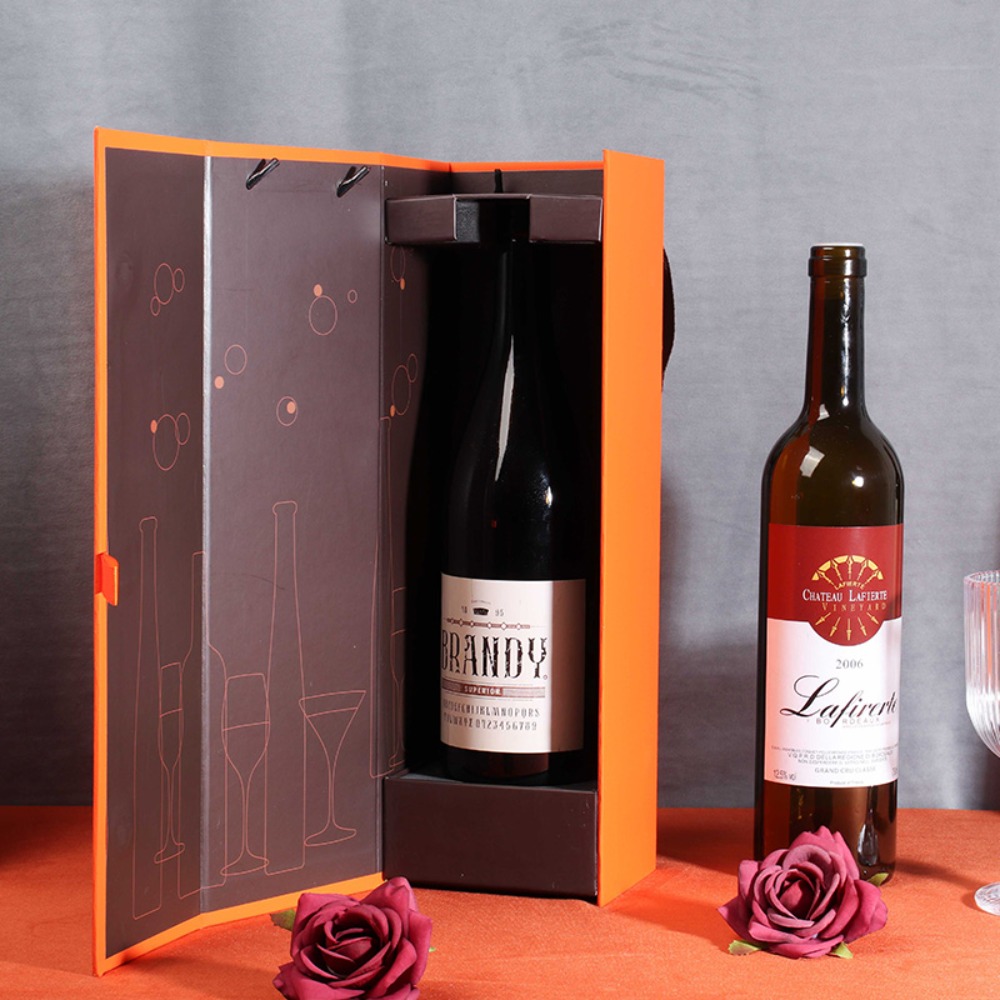
Falls der Karton einen Griff hat, heben Sie die gesamte Probe an und überprüfen Sie die Befestigungspunkte und die Gewichtsverteilung. Einzelflasche Faltbare Karton Wein Box mit Bandgriff angepasst Es besteht aus stabiler Pappe, einer faltbaren Einzelflaschenkonstruktion, UV-Texturdruck und einem Tragegriff aus Band. Größe, Farbe, Druck und Griff sind individuell anpassbar, das endgültige Flaschenprofil und das Füllgewicht müssen jedoch noch geprüft werden.
Produktionsmaßblatt einfrieren
Nach der Genehmigung sind folgende Angaben zu erfassen: Flaschenversion, Gesamthöhe, maximaler Durchmesser, Schulter- und Halsdaten, Füllgewicht, Innenraum, Einsatzöffnung, Außenabmessungen, Plattenspezifikation, Struktur, Zubehörpositionen und zulässige Toleranzen.
Vergleichen Sie das genehmigte Muster mit dem Maßblatt. Sollte sich die Flasche ändern, wiederholen Sie die betroffenen Messungen und Passformprüfungen.
Ein praktisches Messarbeitsblatt
| Artikel | Bereitzustellende Daten | Auswirkung auf die Box |
| Gesamthöhe | Basis bis höchster Schließungspunkt | Innenhöhe und Deckelabstand |
| Maximaler Durchmesser | Weiteste Flaschenöffnung | Innenbreite und Einbauraum |
| Schulter und Hals | Breite, Höhe und Übergänge | Stütz- und Fixierungspositionen |
| Füllgewicht | Vollständige Handelsflasche | Sockel, Einsatz, Griff und Verschluss |
| Position der Beschriftung | Sichtbare Bereiche vorne und hinten | Fenster und Einsatzkontakt |
| Flaschenmenge | Eine oder mehrere Flaschen | Trennlinie und Gesamtlayout |
| Zubehör | Abmessungen, Gewicht und Position | Fächer und Gleichgewicht |
| Kastenstruktur | Deckel, Schublade, Magnetverschluss, Klapptür oder Doppeltür | Externe Berechnung |
Von Flaschendaten zur produktionsfertigen Verpackung
Für ein individuelles Projekt können Käufer eine Flasche oder ein vollständiges Messblatt, das Füllgewicht, die Menge, die bevorzugte Struktur, die Anforderungen an die Einlage und das Artwork bereitstellen. TopWinePack Die Gestaltung kann durch Strukturprüfung, Materialauswahl, Bemusterung und Produktionsbestätigung erfolgen.
Die zuverlässige Vorgehensweise ist direkt: Flasche ausmessen, Stützkonstruktion festlegen, Hohlraum berechnen, Einsatz und Struktur hinzufügen und anschließend das Muster freigeben. So entstehen maßgeschneiderte Weinkartonmaße, die auf dem tatsächlichen Produkt und nicht auf dem Nennvolumen basieren.
Um eine Maßprüfung vorzubereiten, senden Sie bitte die Flaschenzeichnung oder Musterdetails, das Füllgewicht, das Kartonformat und Ihre Beilagenpräferenzen über TopWinePacks benutzerdefiniertes ProjektformularWir können die Daten in eine musterfertige Spezifikation umwandeln, bevor die Produktion beginnt.
FAQ (häufig gestellte Fragen)
F: Gibt es eine Standardgröße für Weinkartons, die für jede 750-ml-Flasche gilt?
A: Nein. Flaschen mit gleichem Fassungsvermögen können sich in Höhe, Durchmesser, Schulter, Hals, Boden, Verschluss und Gewicht unterscheiden. Die Standardgröße eines Weinkartons dient lediglich als Referenz, bis die tatsächliche Flasche vermessen und geprüft wurde.
F: Wie viel Freiraum sollte um eine Weinflasche herum eingeplant werden?
A: Es gibt keine pauschale Vorgabe für jedes Projekt. Der benötigte Spielraum hängt vom Einsatzmaterial, dem Flaschengewicht, der Oberflächenreibung, der Struktur und der Verpackungsmethode ab. Bitte prüfen Sie dies anhand eines physischen Musters.
F: Verändern Einsätze für Weinkisten die Außenmaße?
A: Ja. EVA, beflockter Schaumstoff, Formfaserplatten, Trennwände aus Karton und Zubehörfächer verwenden unterschiedliche Wandstärken und Trägermethoden. Ihr Platzbedarf muss vor der Berechnung der Platten und der Außenkonstruktion berücksichtigt werden.